Saturday, May 19, 2012

IronMan 2012 - The Woodlands, Texas

Today was IronMan 2012 for the Woodlands, Texas... and boy talk about an experience! I still have an adrenaline rush from it and I didn't even compete!

Early this morning the racers started off with a 2.4 mile swim then a 112 mile bike ride ending with a 26.2 mile run. These guys are obviously VERY fit and trained for this!

Well, lucky me, part of the bike route was coming right past my house! I was so excited the night before thinking about sitting out on the lawn yelling and cheering these amazing men and women on! So at 7:15am I was out in the truck of my SUV waiting... and almost like clock work here they came! I am very sad to say I missed taking a picture of the lead keeper truck with the two guys that were in the lead.. BUT I did get some fantastic pictures that I am very excited to share!!! (all taken with my new Iphone at that!)


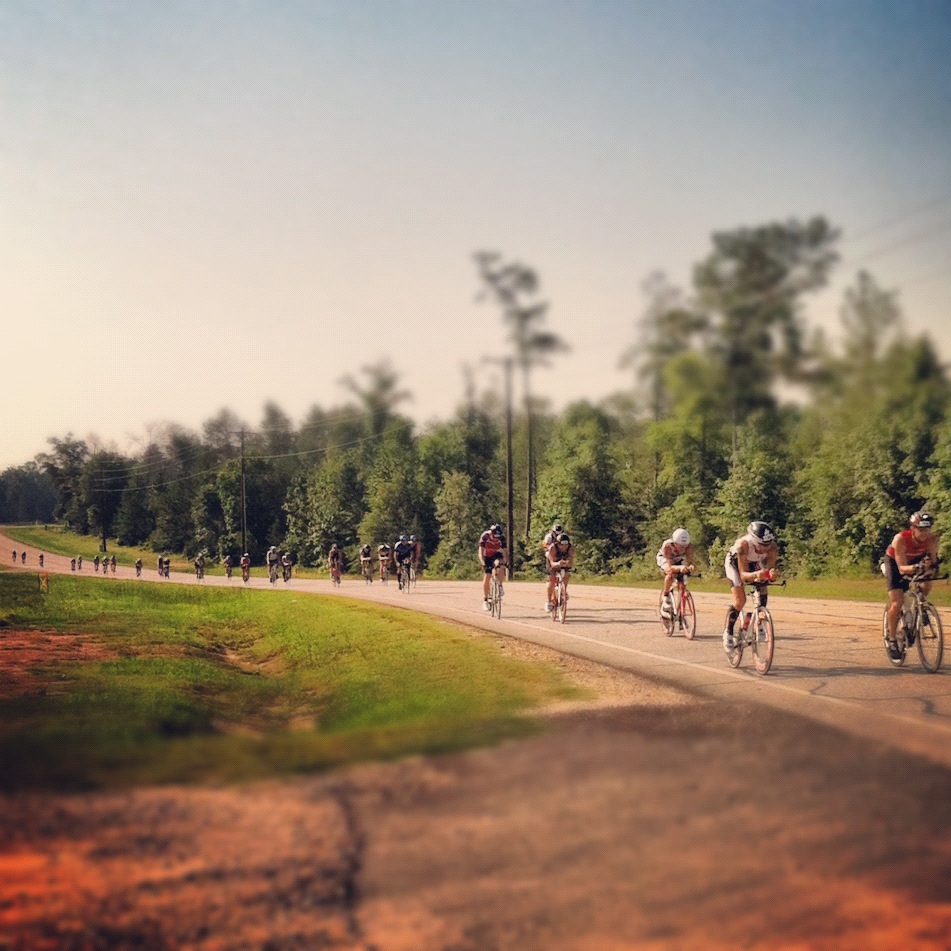
^^ This is one of my favorite pictures!^^

And now on to the finish line....

This would be Jordan Rapp the 2012 IronMan Texas Champion (8:10:44)!!!!! This guy got a second chance at life after a near fatal hit and run in March of 2010. 

Justin Daerr finished in second with 8:22:15!


The women's champion Mary Beth Ellis with a course record of 8:54:58!
Mary Beth Ellis won her third IronMan title with Jordan Rapp at the 2011 IronMan Canada!

Caitlin Snow was the second woman to run across the finish line with 9:01:32!


One of the best parts of the race was when two brothers came up to the finish line and did a full on SPRINT to race each other to the finish... 

You can see the determination in their faces!!!!

The brother in the blue beat his brother by two steps!!!

While standing around cheering for strangers... we made a sweet friend from Ontario, Canada who was here to watch her husband finish. She had been watching him all day.. and knew exactly where he should be at what exact time for each transition. You could tell she was very dedicated to him being in the IronMan. I got some amazing shots of her with their son watching their dad come in #16 at 9:46:40!


All and all.. today was a very touching experience and next year I will be volunteering! Hope you enjoy the pictures! :)


Monday, May 14, 2012

Easy way to hang pictures

Here's another quick post! I bought some really neat antique letters the other day at Hobby Lobby for half off and wanted to hang them above my bedroom window. Problem was... how to get 7 pictures hung up evenly on a wall with proper spacing?

The answer? WAX PAPER!!

First lay down what you want to put up on the wall EXACTLY how you want it... except upside down. 

Lay your wax paper out on top of the pictures and then you can either: 
A) trace the exact dimensions of the pictures
B) just poke holes where the nail would go... which is what I did because I didn't have time to trace.  

Next measure where you want your pictures to go and tape the wax paper to the wall. 

Now if you're lucky.. you can have someone hammer in the nails for you while you take pictures :p 
Thanks dad!

Almost done hammering!

Now rip off the wax paper!!! It's time to hang your pictures!!!!

Huge thanks to my dad!

Ta-Da!! 

Do you know where this quote is from?? 


Chuy's copycat green sauce

Chuy's is on of my favorite places to eat.. mainly because of their creamy jalapeno sauce. If you haven't had a chance to go to a Chuy's or don't live near one (It's a TEXAS food chain).. I have the perfect copy cat recipe so you can enjoy at home. What's even better is this is literally the simplest recipe I've ever come across in my entire life. It is also the BEST dip you've ever tasted. Your mouth will thank you. It has a little kick but you can add less jalapenos to soften the kick. You'll want to put this on everything... enchiladas, tacos, chips (specially the HINT OF LIME chips), hamburgers, cereal...


Here is what what you'll need: (if it's just you or if you just want to experiment to see if you like it, I recommend you half everything because it makes a pretty big batch.)

*1 quart mayo
*1 cup buttermilk
*1 cup jalapenos (I used jarred but I'm switching to fresh the next time I make it. I also add a little juice.)
*1 cup tomatillo sauce (I found mine at Kroger BUT they aren't going to carry it anymore so try H.E.B.!)
*1/2 bunch of cilantro (The recipe I found said chopped but I didn't chop)
*3 packs dry ranch mix

1 quart is equal to 4 cups. I bought the regular jar of Mayo and a small squeezie jar. The jar won't have enough Mayo.. it only has about 3 and a half cups so I just squeezed some out of the other jar to help bring it up to 4 cups. 

You'll find buttermilk by the milk :)

Pushing the cilantro in. This is my favorite part because cilantro is the heart of all good foods. This is also the part we noticed that we were going to overflow our 7 cup blender. So, we poured HALF of what we already had in the blender (mayo, buttermilk and cilantro) into a bowl. At the end we would pour the other half into that bowl and whisk feverishly for a few minutes. 

1 cup of jalapenos with a little of the juice. 

1 cup of tomatillo sauce. Don't forget to look at H.E.B. for this NOT Kroger!

Opps! Clean up on isle 4!!

Since we were in such a tizzy after spilling the tomatillo sauce I forgot to take a picture of us adding the ranch dry mix! But go ahead and add that in at this time. 

THEN -- pulse/blend for about 5 minutes. It's noisy but worth it!

Now remember I told you we poured half out into a bowl? Now after you pulse/blend for 5 minutes add that to the half you might have had to pour out (if your blender is big enough then you don't have to worry) Here I am about to start whisking my little heart out! I whisked for just a few minutes until I saw everything was nice and blended. 

NOW THE BEST PART!!

I promise this will be a hit anytime you make it. I made it for my graduation party (the whole recipe) and it was gone in about an hour. So I hope you enjoy and if you have any questions feel free to comment and I'll be as helpful as possible :) 

This one is DEFINITELY a pin!  

Saturday, May 12, 2012

Mason Jar Candles

Tomorrow I am graduating from Sam Houston State University! So I am getting ready for my party tomorrow and I wanted to show y'all a quick table decorating idea. I have seen various ways to do this on Pinterest but I just used some of the staples I have in my crafting drawerS!

What I used:

*Mason Jars
*Rhinestones
*Ribbons
*Letters cut from my Cricut
*Hot glue
*floating candles
*clear rocks

Alrighty folks! This one is simple.

First, tie your ribbons (or have your WONDERFUL Meme tie them for you) around your mason jars. Make sure they are nice and snug or they'll slip down your mason jar!


Next, glue a big  rhinestone in the middle of the knot of the bow (thank you Tabitha for that awesome idea!)


Then glue some more rhinestones at the bottom of the ribbon! (First you have to sort through a multi-colored pack.. again thank you Tabitha for picking out all the oranges and blues!)


You can be done at this point. BUT if you are fortunate like me and have a Cricut, you can cut out letters! For a wedding I'd just cut out the first letter of the last name, or maybe spell out the whole name for a centerpiece at the cake table. I just did the initials of my college - SHSU. On the Cricut cartridge Plantin Schoolbook I cut out the SHSU in 3 3/4 inches. Then, I cut them out again except this time I used the SHADOW setting and cut out the same letters in the same inches. When they were all cut out I glued the first set (I call it the skinny set) of letters onto the shadowed letters. USE CLEAR GLUE. Then I just hot glued those babies on 4 of my mason jars. Make sure after you hot glue them to the jar that you hold them down for a minute or they'll pop off!

The letters before I glued them to the jars. See how the blue (shadowed letters) are peaking out underneath the (skinny) letters?