Thursday, March 15, 2012

Easter Cupcake Cups Topiary

Spring Break! Yay! Here is a cute little Easter topiary for you Easter table!

What you'll need: 
* Hot gun/glue
* Paint
*5/16 x 36 dowel ( I cut mine into 8 inch sticks)
* two 3in. Styrofoam balls 
*2 1/2 inch cupcake cups (I bought packs of 36 and used about 5 packs. Luckily they each cost less than a dollar!)
* cup/can
* Filler of your choice. (Easter grass/gemstones/shredded color paper)

To cut my dowel into 8 inch sticks I just cut around and around with a pair of scissors, then it made it easy to just snap in half! MUCH easier than any other method I could think of! Next, I painted my sticks white.

THEN I pushed the 8 inch stick into the Styrofoam ball about one inch. After I had made the hole I took the dowel out and put a lot of hot glue on it, then I replaced the stick into the hole I just made and pushed hard. These made sure the stick was really secure in the hole and wouldn't come out while I was putting the cupcake cups on it.

I feel like these cupcake cups are sad they aren't going to get to hold a delicious treat! It is way easier to go ahead and lay out as many cupcake cups as possible before you start. That way you can grab, glue and place a lot faster!

Using another dowel I had, I pushed the cupcake cup onto the flat side of the dowel and put a spot of hot glue onto the cupcake cup. 

Then I quickly pushed it onto the Styrofoam ball. I didn't keep the ball there between my knees while I was putting the cupcake cup onto it, that was just for picture purposes. I had to actually hold the Styrofoam ball with my hand to make sure that I securely put the cupcake cup onto the Styrofoam ball. 

Looks like a dress!
It's growing!
Yay! I'm getting there!!
So close!!!
Pushing the final cupcake cup onto my Styrofoam ball! YES! 

Next, I placed the other half of my 8 inch stick into another same sized Styrofoam ball, THEN I got lucky. I figured out the cupcake cup plastic container fit the other Styrofoam ball in it perfectly! 

Then I just placed the cup into the metal bucket! I saw other people using Easter grass or shredded paper to hid this part that sits inside the bucket, but I didn't have those things.. so I just used my leftover gemstones to  hide all that. They also kept everything pretty sturdy in place in the bucket so nothing tipped over.

Whale and Ladybug are so impressed! I added two ribbons around my 8 inch stick

oOo I love pastels!


This one is DEFINITELY a pin! 

** Plus, you can do it for any holiday with any colored cupcake cups, just use different colors!!! **

Monday, February 20, 2012

Taco Dip Bake

Howdy Y'all! I cannot tell you how happy I am to FINALLY have found time to do something for y'all! Student teaching has had me swamped but I took a little break from lesson planning to do something for all my very loyal followers! Since I don't have a lot of time, I decided tonight I would try cooking a recipe I found off Pinterest! All that food looks so WONDERFUL! I decided I would start with someone very simple that you can take to potlucks or even have as a side dish during a football game, etc.

Here is what you'll need: 

* 1/2 lb. ground beef
*1 can re-fried beans
* 1 packet taco seasoning
* 8 oz. sour cream
* 2 cups shredded cheddar cheese
* 9x13 pan (or baking dish)
*Fritoes to dip it up with!


The first thing you're going to do is in a medium sized skillet, brown your ground beef. Since I was making two helpings, I just browned 1 lb. then drained it. 

Next, open up that can of re-fried beans and taco seasoning, and add them to the ground beef and stir it real good! This requires a little muscle because when that beef gets to mixing with those beans.. it gets a little tough! (Plus, I added two cans of re-fried beans and two packages of taco seasoning since I was doubling the recipe.. this made it double hard to stir! O_O!)


Spread the meat/bean/taco seasoning mixture in the bottom of your 9x13 pan (or baking dish). Since I was doubling the recipe, I just divided the mixture in half and then added one half to one pan and the other half into my other pan. 

Start pre-heating your oven right about now. Set it at 350!


At first we thought this layer of mixture seemed pretty thin.. but it will be OK! Just make sure you spread it evenly! Ok? Alright...moving on...

Now you're going to top this mixture with sour cream! Yum!


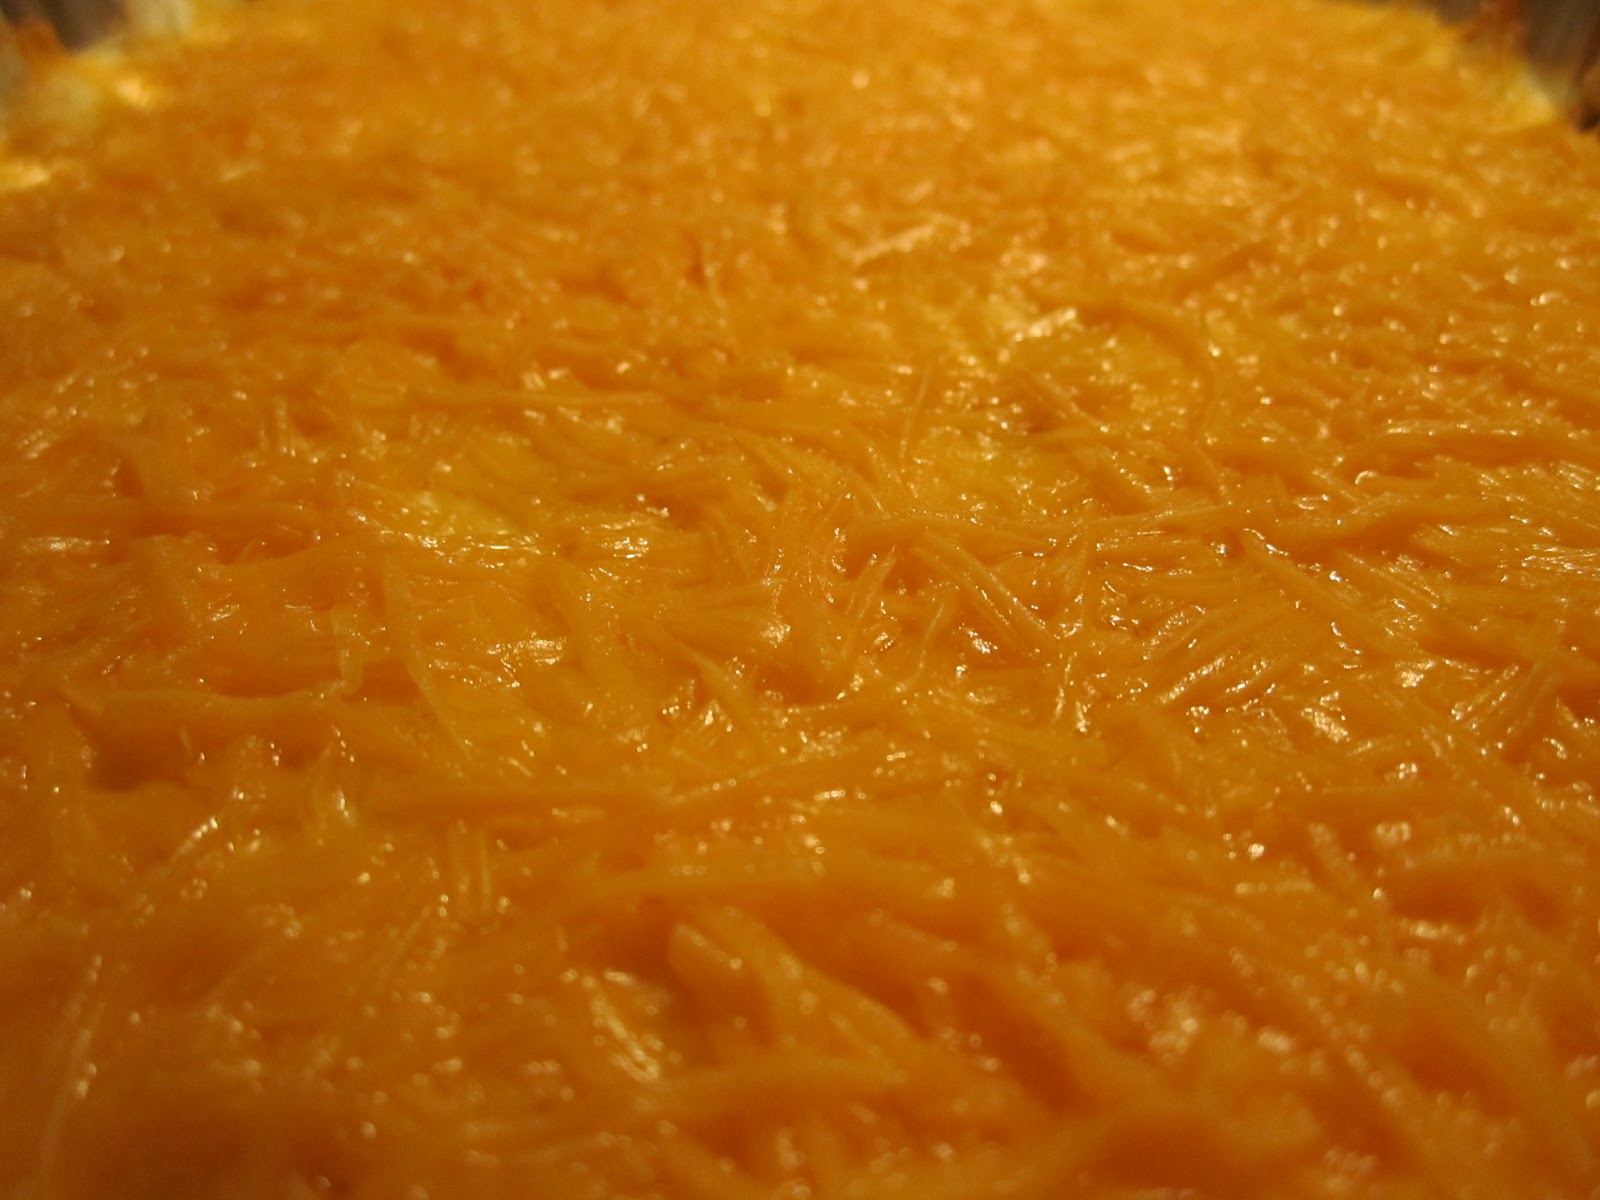
Now for the best part... CHEEEEEESE!!! You're going to add that on top of your sour cream!
Buster and Duke love cheese too!

Put it in the oven and bake for 25-30 minutes (or until cheese is bubbling!)


Tomorrow I am serving this at school for Fat Tuesday! I'll make sure I take pictures of it being enjoyed and update you on how everyone enjoyed it! 

I miss all of y'all and I hope to be back more often!

2/21/2012 - Today my two dishes were almost gone by 12:10!!! I only got a few bites! What I did get to taste though was .. AMAZING!! So I say try this at your next potluck, party or just as a side dish for dinner! Also, I think I might try sprinkling some diced tomatoes on top after I bake it! Good luck! If you end up making this dish and love it.. tell me about it! I love to hear from my readers! 

This is definitely a pin!

Monday, January 2, 2012

Ribbon Pomander

 Here is what you'll need:
* Different widths of ribbon in different colors
* Styrofoam ball
* Stick pins
*Scissors

Cut your ribbon into 4 inch strips. I cut 10 strips of each color just to get started.

Now to get them ready to pin to your Styrofoam ball, you have to twist each piece of 4 inch ribbon into a circle.

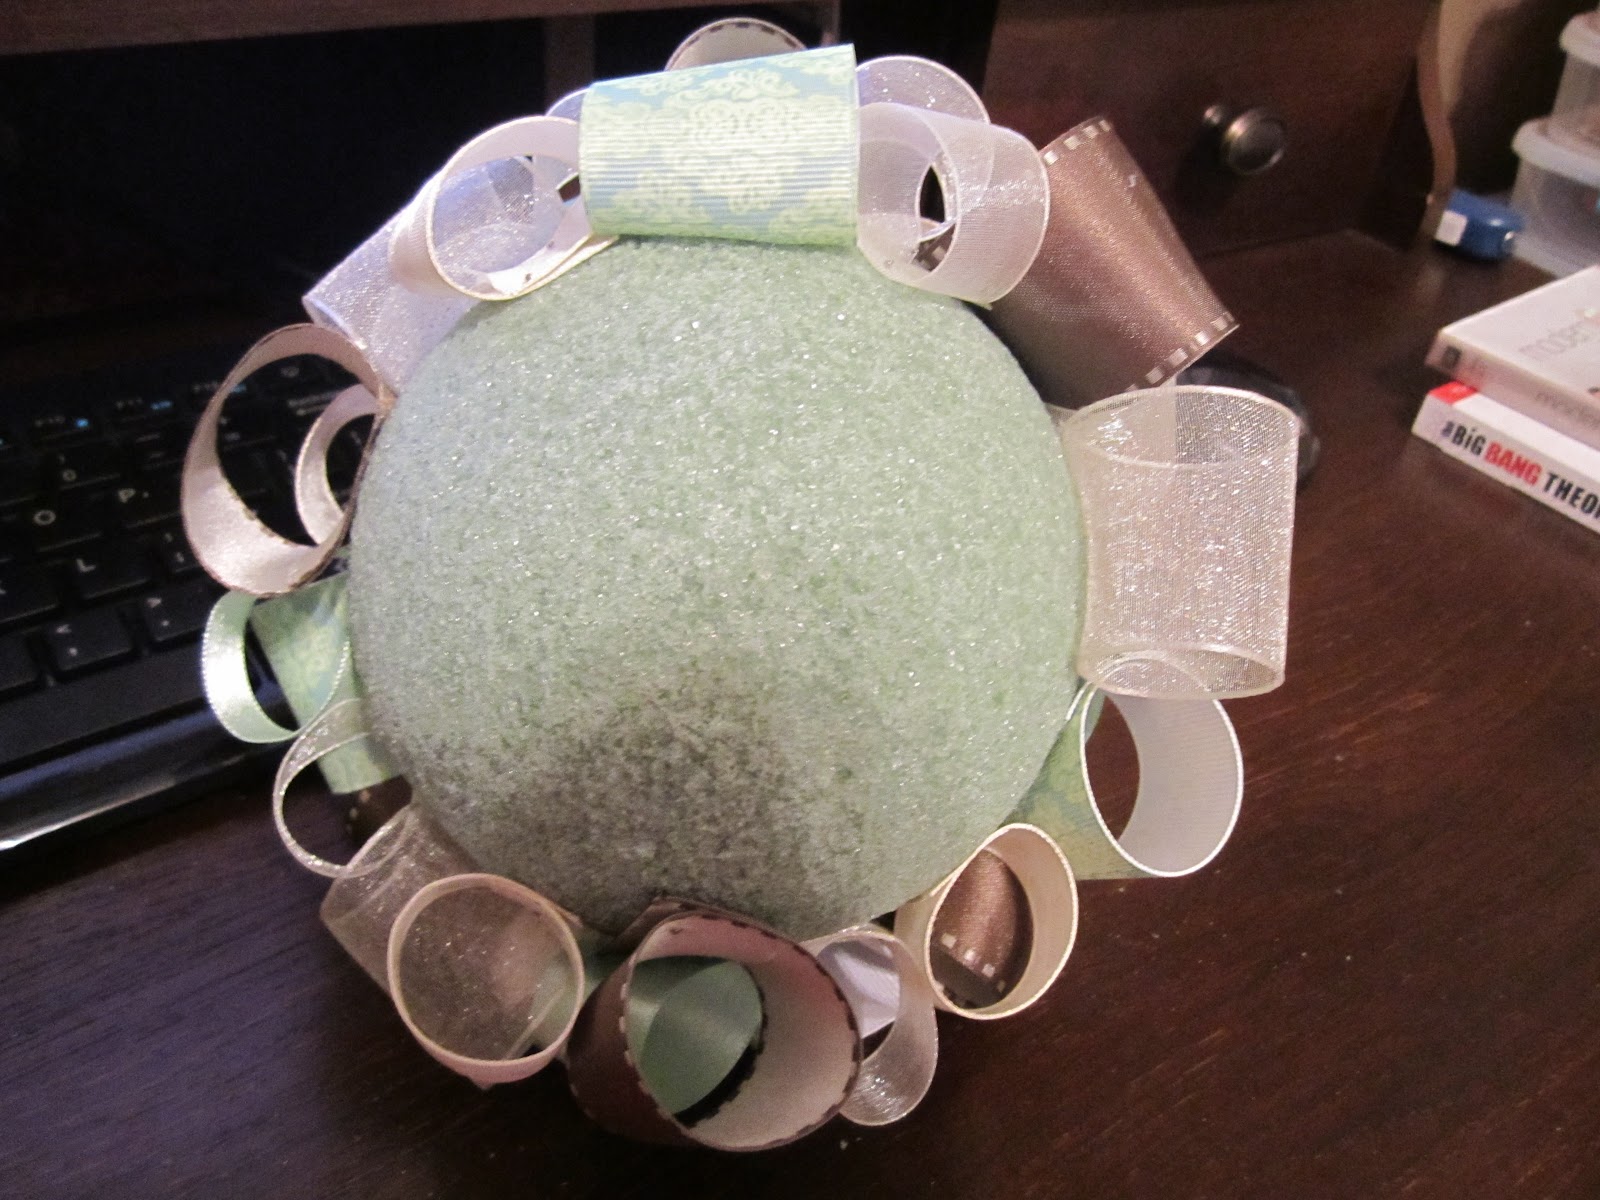
Next, using your stick pins attach the ribbon (that's still in the circle you formed) to the Styrofoam ball. Where I found this I saw she used one stick pin, when I used one stick pin the ribbon moved around too much and sometimes became misshaped. I recommend using 2 - 3 stick pins to really keep your ribbon secure to the spot you want it.

Then keep twisting and pinning!

Maybe watch your favorite TV show while you do this...

Just keep alternating your ribbon. You can really use any size ribbon or texture.

Ta-Da! You could find some way to hang them from a ceiling, or sit them on top of upside down wine glasses for centerpieces.

This one is DEFINITELY a pin!


Here is the original I found on Pinterest:

Sunday, January 1, 2012

Peppermint Tray

HAPPY NEW YEAR!! I had a wonderful New Year at a beautiful wedding in Navasota, Texas (Congrats to Austin & Alana Barbre!)

To start the year off I decided on something simple because after all, I did stay up all night last night to bring in the New Year!

Here is what you'll need:

*Parchment or wax paper. I used parchment paper.
*Green or red peppermints
*Cookie sheet
*Oven

Heat your oven to 350 degrees. Then start unwrapping. Once you get them arranged in the shape you want, put them in the oven for 8-10 minutes. Don't leave them in too long because the tray will get too thin and be very fragile.

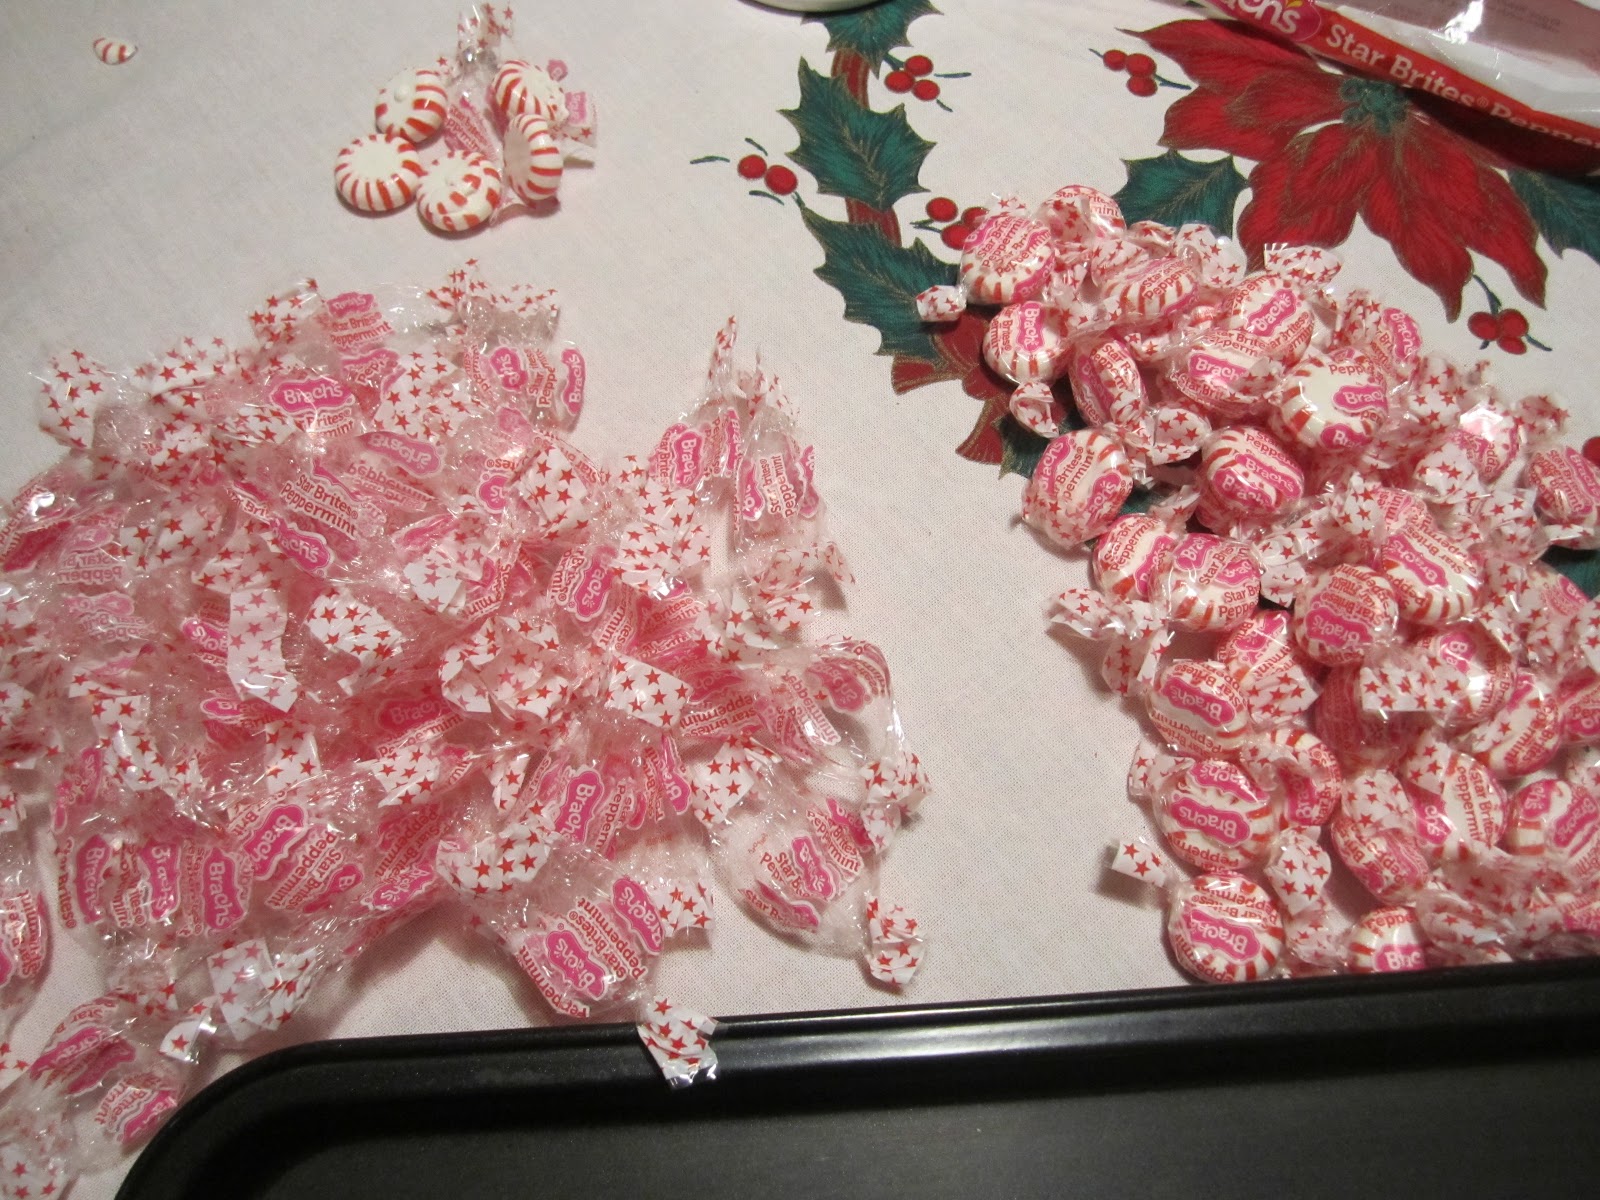
Unwrapping them takes some time....

I thought I'd try for a heart. You have to space them out a bit so that way they can spread out. Don't spread them too far apart from each other or the tray will become too thin when it all melts out.

In the oven...

Their melting!!!

Their MELTING!!!

They melted! 

Before:

After:

I also made a square!

Before:

After:

You could serve cookies on it!


Lookie what I did!!! Watch it!

This ACTUALLY takes about 10 minutes for this to happen. I just sped the video up so you didn't have to watch a 10 minute video of peppermints melting on a tray...

All in all this was cute... but I would like to find some way to seal the trays so that they are more durable and could be stored without bugs getting into it because of the sugar. If you have any suggestions throw them my way and I'll try them out!

This one is DEFINITELY a pin!


Here is the original I found on Pinterest: