Sunday, December 30, 2012

Pre-Classroom Ideas

Hello internets!

I hope to be getting my own classroom in the future and I have begun the daunty task of getting things organized.

My room will be in greens and blues.

I have bought several LARGE storage tubs and organized them by categories such as: Math, Language Arts, Odds N' Ends and Holiday Decor. I downloaded the CUTEST labels from Run! Miss Nelson's Got the Camera , which you can buy here.  She was even kind enough to make them bigger to fit my tubs! I plan on storing the tubs like this from Tunstall's Teaching Tidbits.

Next, I plan on making a teacher's toolbox. Like this:
 
 I used the zebra design from Miss. Nelson's pack because I bought this zebra designed Teacher Toolbox labels a while back. Even though the stripes are black and not white, I will NOT let my O.C.D. get the better of me. (That was a ramble!)
 
I also want to figure out how to make my paper fit to make one of these. I want to do it in solid green with blue letters.
 
Pretty much passed all that craziness... I don't know what to do. So I'm seeking your advice.
 Any suggestions on organization, themes, management tips.. ANYTHING!
 
Also, where in the WORLD do I find all those cutesy backgrounds that everyone uses on their blogs, or even uses to create cute labels to use around their rooms? That is a very important question because I have searched to the end of Google and back and still can't come up with that answer.
 
.....Hello internets please help!
 
 
- S-Jean-S

Storage Wars

Hello there internets!
 
I decided to go in the freezing cold to clean out my storage unit today....
I ended up finding lots of hats, and stuffed animals.
I'm pretty sure I was meant to be a school teacher.
At least I hope that's why I have so many random and weird things in my storage unit!
 
 
Never a dull moment!
 

Saturday, December 29, 2012

An explanation and Glittered Up Buck

Hiiiii.... :D

I know I've been away for a LONG time, but a funny little thing called life (long term sub job) came up and I jumped at the opportunity!

I haven't had a chance to be crafty in a long time and the lack of glitter in my life has started to take a toll on me! I did a QUICK craft the other day and I thought I'd share. Sorry no pretty pictures but I promise I'll be back on the picture taking soon!

Basically, I saw a picture on Pinterest of a lady who traced this onto a white canvas and then filled it with glitter. Well, I took it a step further and painted my canvas a dark brown THEN traced the deer's head on it.

I do have to recommend you add the (Elmer's) glue and glitter in little sections at a time. I used a Q-tip to spread the glue around small parts then add some glitter, press down lightly with a finger and wait a few seconds, then shake off the glitter and repeat until you finished the whole outline. :)

Simple. AND. fun.


Monday, July 23, 2012

String Balls - Failed

Want to see something absolutely beautiful?? 
Aren't they beautiful?! Ugh. So gorgeous.. almost unbelievable actually!


Well guess what... they are unbelievable because here's my attempt at a string ball ----->


I was shown this awesome centerpiece idea for a wedding and was asked to try to recreate it. 

I was thinking to myself, this will be the easiest crafting craft I've ever done! Things started off bad to begin with. I had all my supplies... balloons, string and fabric stiffener (which is almost impossible to find, I finally found it at Walmart and it was overpriced!) 

I blew up my balloon and started to wrap it with string, since this was a very difficult task because the string kept slipping off, I couldn't take any pictures. The string was falling off, becoming untight and just overall being difficult. This is what it looked like before I sprayed it. As you can clearly see the string is loose, I thought that maybe it wouldn't matter and would just add to the artistic element of the ball when it was finished. HA. 

Once I got enough string on, I took my stringy ball outside so I could spray it. 

After it had dried for about 6 hours, I brought it inside and popped the balloon. 

Do I need to say anymore? I think the pictures basically speak for themselves. Attempt 1: Failed. I really hope my failure at crafts isn't a repeating process for much longer because I am getting very frustrated!

Duke mocking me. How rude. 

Thursday, July 19, 2012

Flower Balls

One of my best friends is getting married and I have the honor and privilege of hostessing a bridal shower for her. I was equally as excited because I was finally getting to use some party decorating ideas from Pinterest! I looked through my wedding Pinterest board and found my inspiration.

My inspiration:

I loved the cluster of the different types of balls. I have already made the tissue paper balls before, and I knew I could buy some of the paper lanterns. I wanted there to be one more element to the cluster though, and that's when I remembered what a cute clothing boutique by my house had in their display windows. Flower balls! I had asked them how to make them and it was so easy I couldn't believe it! 

No hot glue required!? How can that be so?! IT IS SO!

Here's what you'll need: 


* Fake flowers that'll pull off the stem easily - (I bought 2 bouquets of flowers from Hobby Lobby, each bouquet had about 14-15 flowers on them. The bouquets were originally $11.99 but, flowers were half off that day so I only spent $6 on each bouquet!)
* Straight pins - (Since I was using these to stick in the hole of the flower, I had to make sure the heads of the straight pins were big enough to keep the flower in, I ended up buy a set of 250, size 24 - 1 1/2. I tested them in the store to make sure they would fit perfectly in the flower and not go through the hole.)
* Styrofoam ball - (I used a 6 inch floral ball.)
* Ribbon if you plan on hanging it

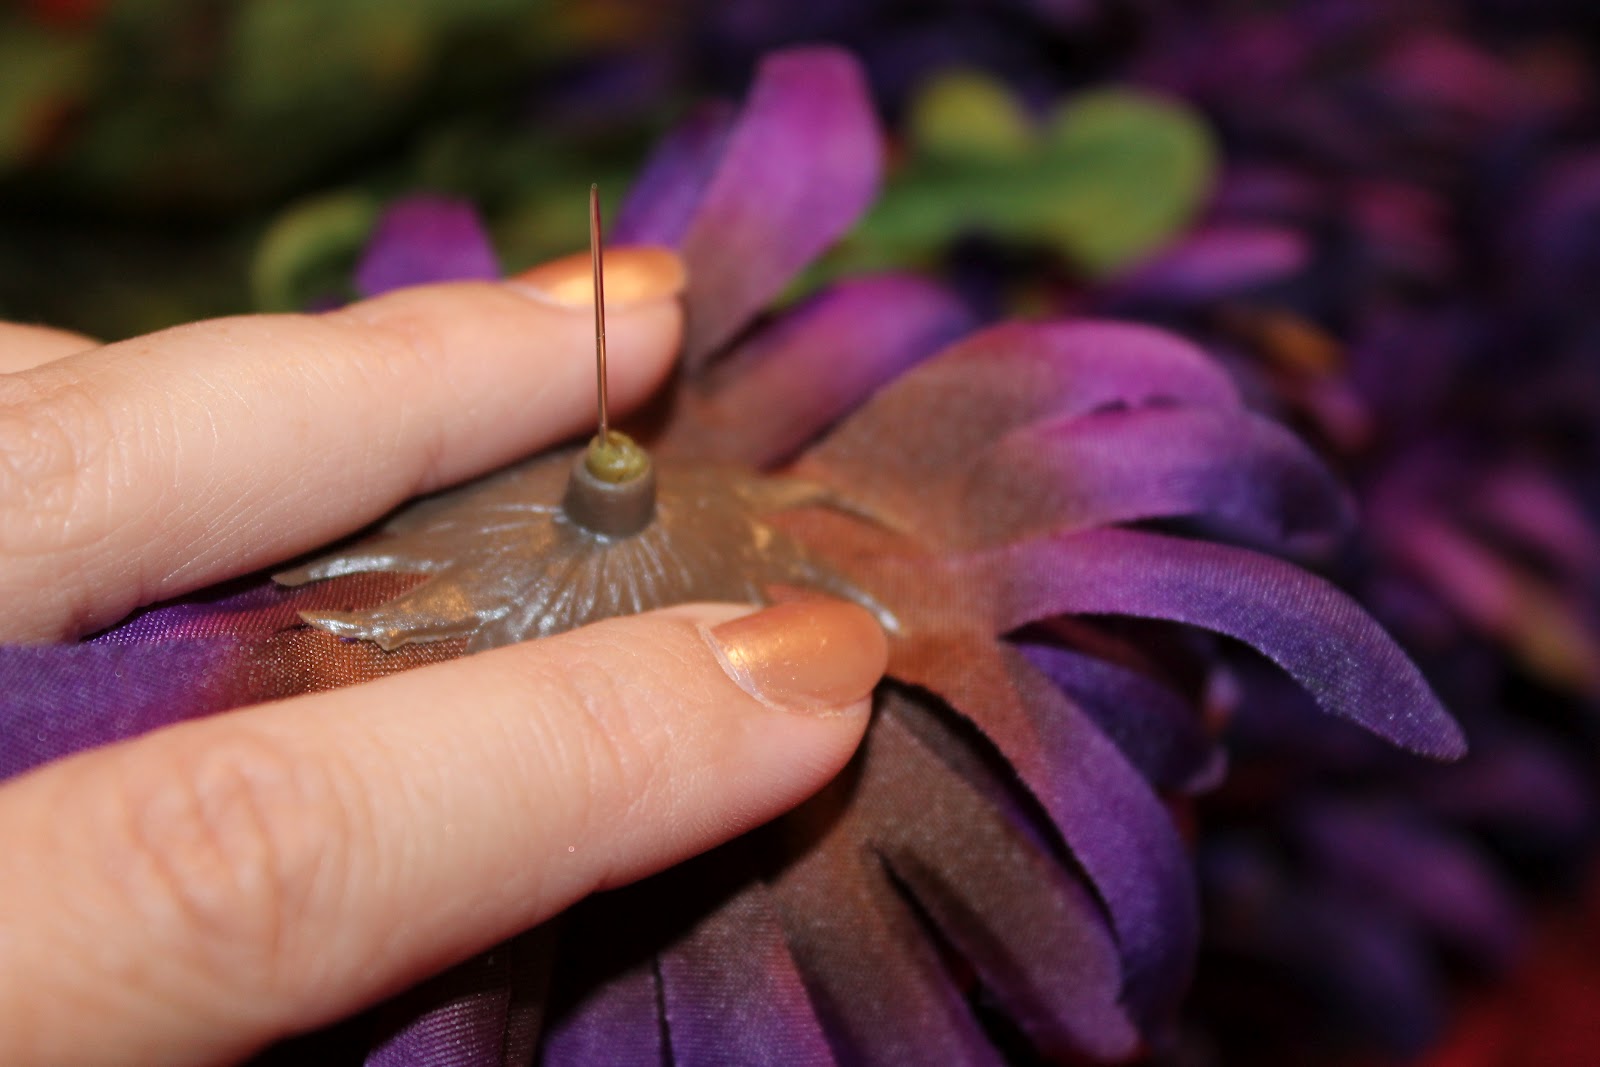
Here's a picture of the underside of the flower so you can see how it is detachable. 

I did this backwards but I would recommend doing this part first. Attaching your ribbon to the ball so you can hang it later. I just double looped the ribbon for added security and pushed it in with a straight pin. 

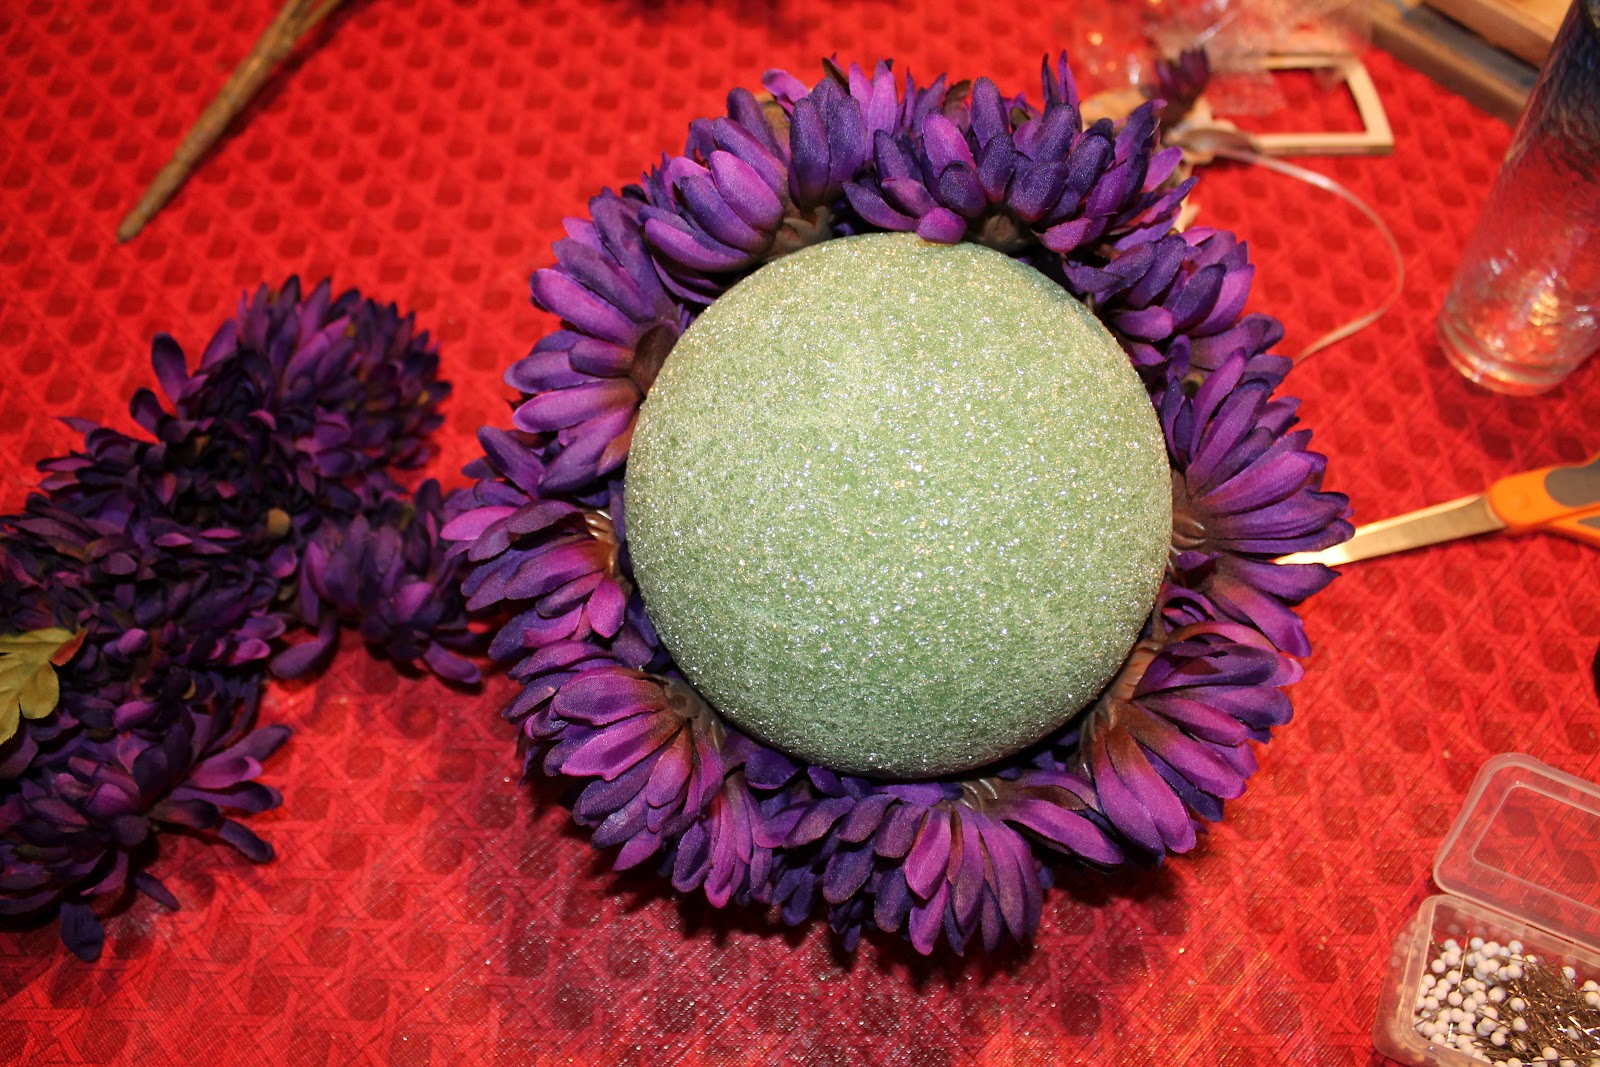
Now you just detach all the flowers from the bouquet. Then take a flower one by one and stick a straight pin through the hole. You see why the straight pin head has to be bigger than the hole? You can't have it dropping through the hole or they'll serve no purpose!

This is a really quick process and the product is AMAZING!!!

Ta-Da! I hope you enjoy making your flower balls! I am going to make smaller ones too using 3 inch balls but I ran out of flowers. :( Sad day, but I'm going to Hobby Lobby tomorrow to buy more!


And since this is a wedding post... I thought I'd let y'all in on a little secret... one of my dear friends makes homemade invites and they are AMAZING!

If you are in need of invitations from weddings to showers to birthdays and baptism, every order with Simply RSVP is custom-designed around your event theme and made by hand. Whether you need invitations, announcement programs, escort cards, table numbers, thank you cards, etc., each piece will tie your event together elegantly. 


Here's a little snapshot of some previous invites she's done: 


Tuesday, July 17, 2012

Pumpkins: 1-to-1 correspondence


A lil something I made for my Pre-K class... I bought lil plastic pumpkins and wrote the numbers 1-10 on them, then I printed and laminated pictures of candy corn. Students will put the correct amount of candy corn in each corresponding pumpkin :) 


Also, I bought pumpkin bulletin board decor pieces, cut them in half (you can cut them straight across, or make them like puzzle pieces like I did), put some stickers on one side and the matching number on the other side (cut out with my Cricut), laminated them and bam... another quick and easy (cheap!) center!


-S-Jean-S

Sunday, July 15, 2012

Cake balls (2nd attempt): Failed.


I tried cake balls (pops) again... 

mine are the pink ones. 


I think I'm making mine too big too... I'm flirting with gravity. I'll be making much smaller balls next time... maybe that'll help!

I will not surrender!!


In the meantime, a good friend of mine thought of this AWESOME idea.... Thank you Kim!!!